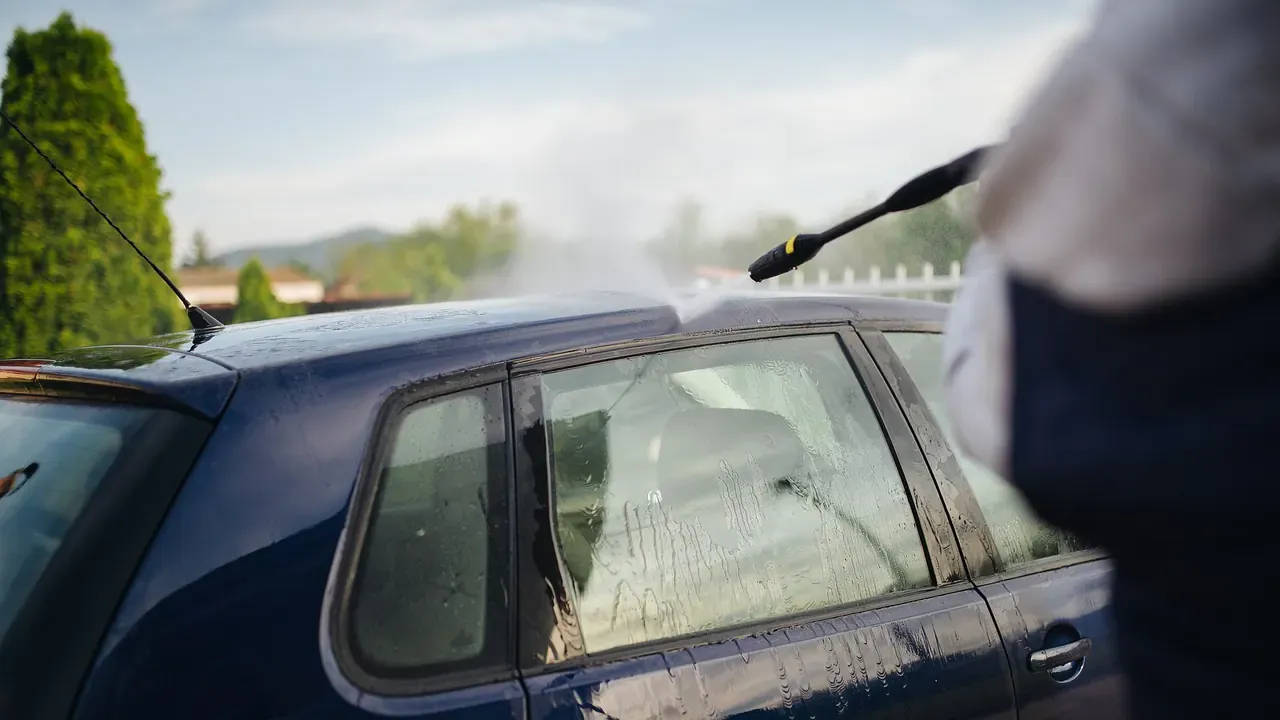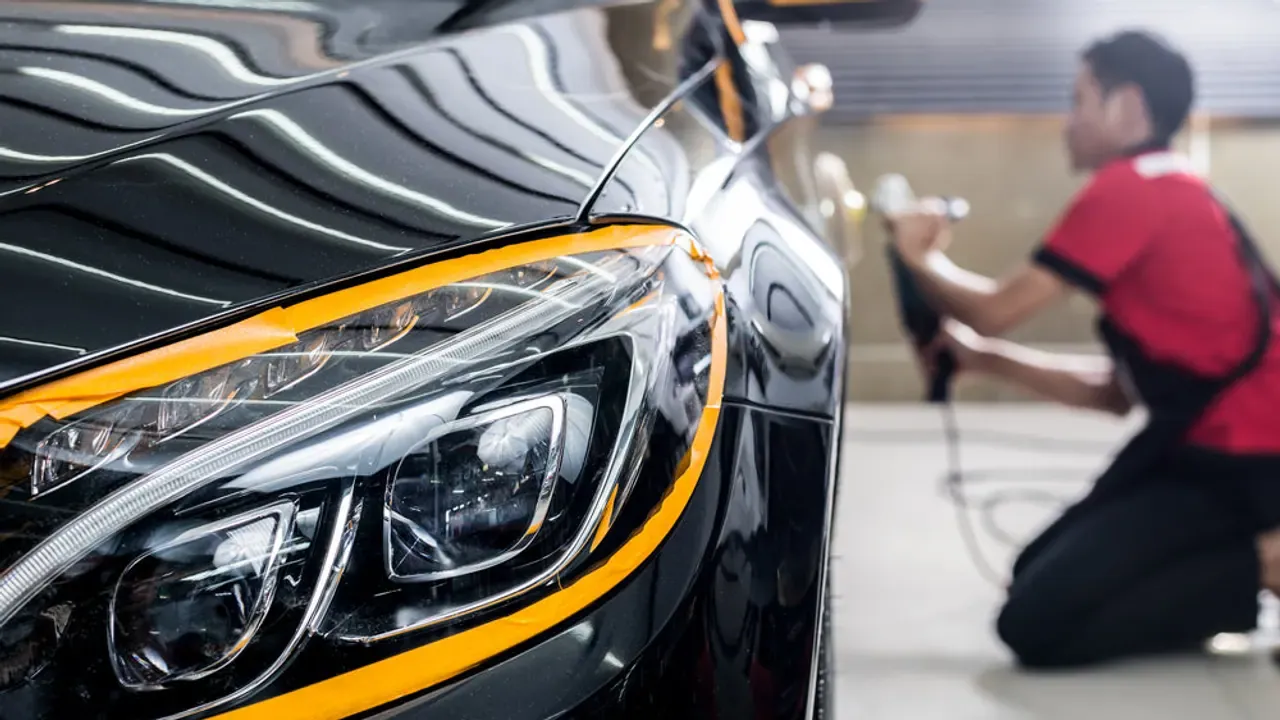
Direct answer: Treat claying as controlled abrasion and use it only where a bag test shows contamination.
Assess the job before touching the vehicle
- Wash and dry the vehicle, then inspect the surface with a thin plastic bag over your fingers.
- Choose mild clay media and generous compatible lubricant for routine contamination.
Keep the active work controlled
- Work a small area with light straight passes and no downward scrubbing.
- Fold or replace contaminated clay before trapped grit returns to the paint.
For how to clay a car, continue only while the vehicle, material, and work area support the method you selected. Do not add pressure, moisture, or stronger chemistry to compensate for an unsuitable condition.
Finish with an inspection
- Reinspect and stop when the surface is clean rather than repeating passes for uniformity.
For how to clay a car, the useful result is a clean, documented, and usable surface. If the remaining issue is damage, a warning light, a leak, or a material failure, changing the cleaning method will not solve it.
Keep this boundary in view
Claying is not a polishing substitute and it is not needed on every panel. If the bag test feels smooth after washing, skipping clay protects the finish from unnecessary mechanical contact.
Match the process to the real use case
The reader feels bonded contamination after washing but wants to avoid unnecessary paint marks. Treat claying as controlled abrasion and use it only where a bag test shows contamination.
Sources and verification
Last verified: August 3, 2026. These sources frame the decision points for how to clay a car; vehicle-specific instructions and product labels take precedence where they apply.