Direct answer: Confirm the material, use minimal moisture and agitation, and judge cleanliness by residue rather than shine.
Assess the job before touching the vehicle
- Check the vehicle manual and inspect for perforation, cracking, dye transfer, or repair areas.
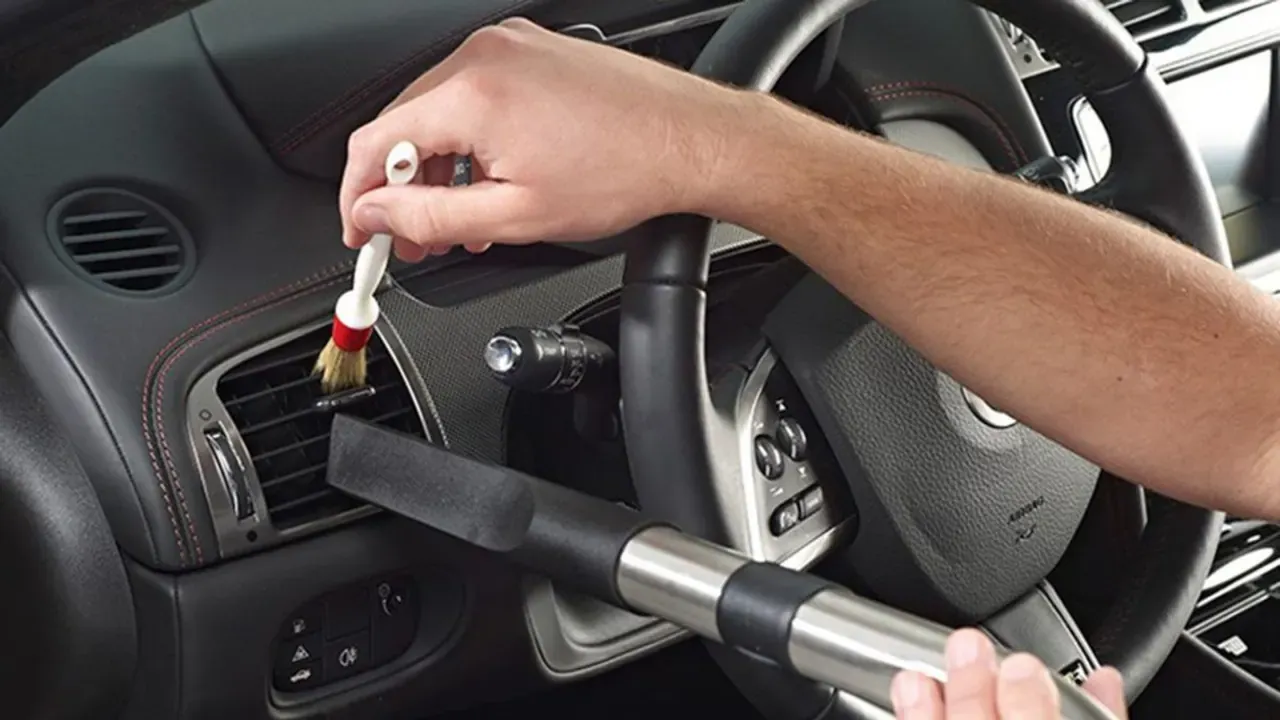
- Vacuum seams with a soft tool before applying cleaner.
Keep the active work controlled
- Test a compatible interior cleaner in an inconspicuous location.
- Clean a small section with a damp towel or soft brush, then lift residue with a fresh towel.
For clean leather car seats safely, continue only while the vehicle, material, and work area support the method you selected. Do not add pressure, moisture, or stronger chemistry to compensate for an unsuitable condition.
Finish with an inspection
- Allow the seat to dry and avoid dressing that changes grip or appearance beyond the intended finish.
For clean leather car seats safely, the useful result is a clean, documented, and usable surface. If the remaining issue is damage, a warning light, a leak, or a material failure, changing the cleaning method will not solve it.
Keep this boundary in view
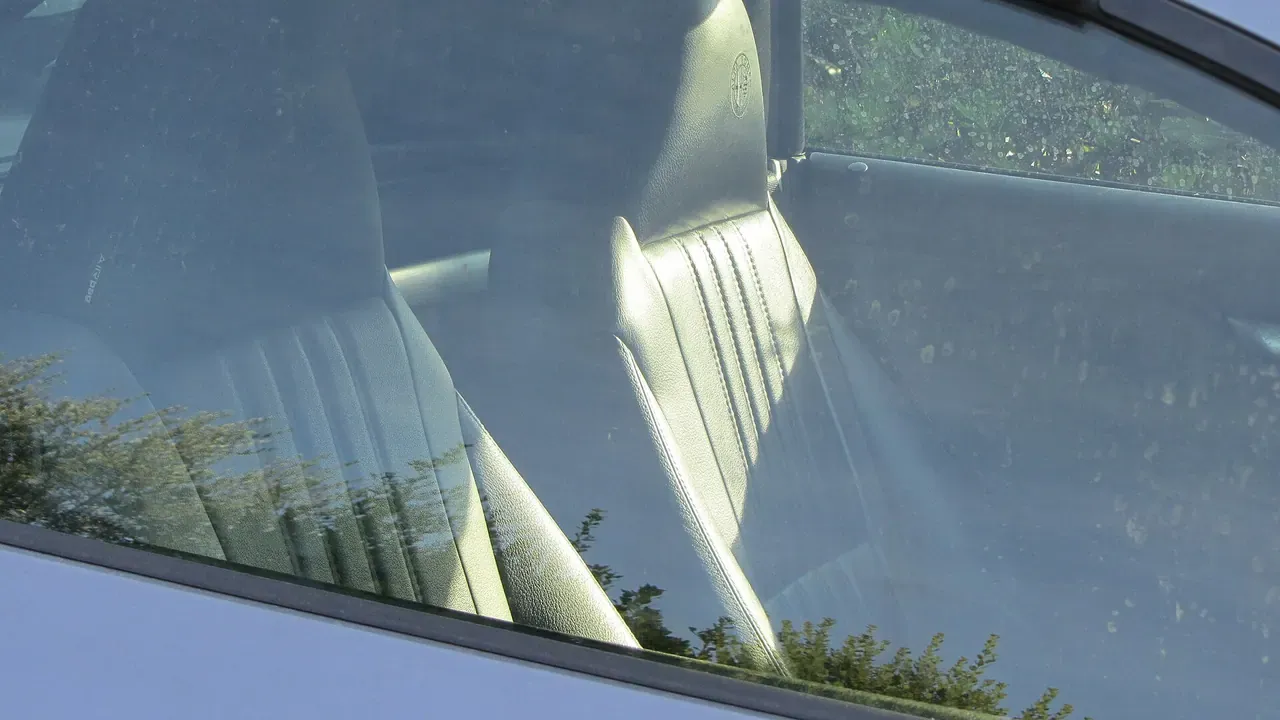
A glossy finish after cleaning is not proof that leather is protected. On a steering surface or seating bolster, added shine can change grip and make remaining residue harder to identify.
Match the process to the real use case
You want to remove body oils and dirt without making the surface glossy or slippery. Confirm the material, use minimal moisture and agitation, and judge cleanliness by residue rather than shine.
Sources and verification
Last verified: August 3, 2026. These sources frame the decision points for clean leather car seats safely; vehicle-specific instructions and product labels take precedence where they apply.