Direct answer: Trace moisture and contamination first, then clean the affected material and dry the cabin.
Assess the job before touching the vehicle
- Identify when and where the odor is strongest, including after rain or HVAC use.
- Remove trash and inspect mats, seat rails, spare-wheel wells, and storage compartments.
Keep the active work controlled
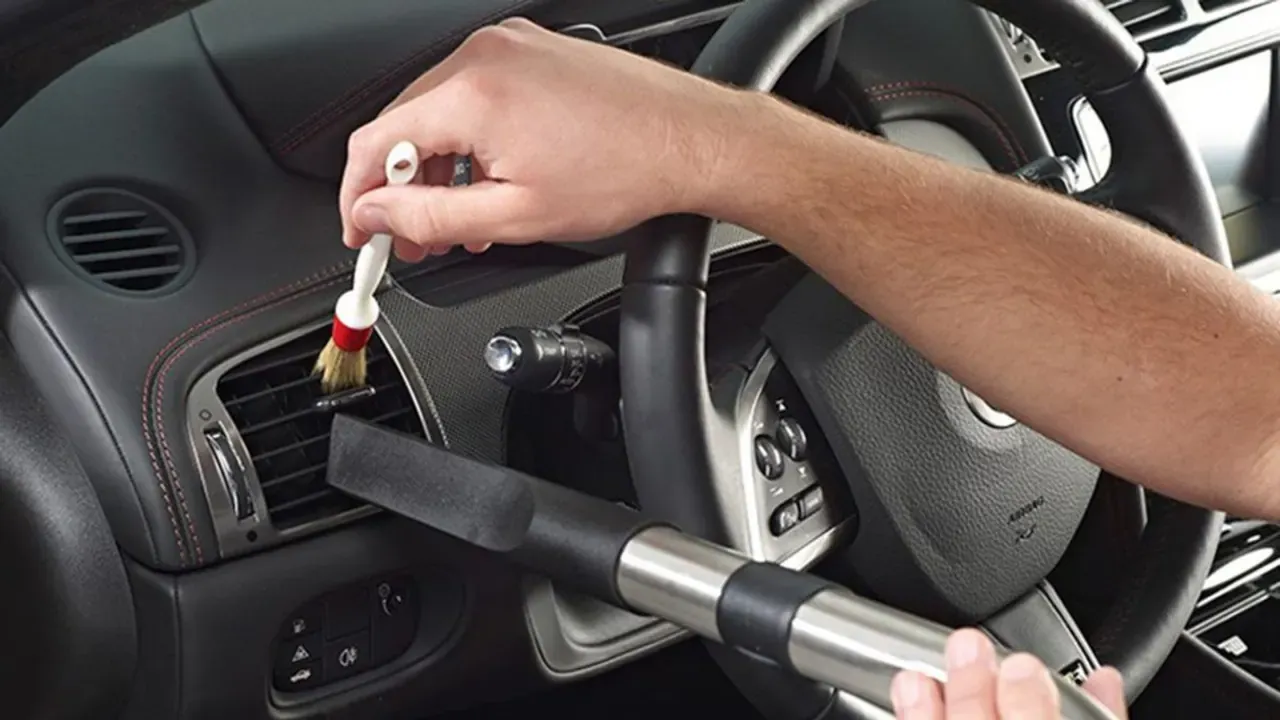
- Treat the actual spill or organic source with a material-compatible process.
- Dry wet materials completely and investigate leaks before deodorizing.
For remove car odors, continue only while the vehicle, material, and work area support the method you selected. Do not add pressure, moisture, or stronger chemistry to compensate for an unsuitable condition.
Finish with an inspection
- Seek professional help for sewage, fuel, heavy smoke, mold, or unknown chemical odors.
For remove car odors, the useful result is a clean, documented, and usable surface. If the remaining issue is damage, a warning light, a leak, or a material failure, changing the cleaning method will not solve it.
Keep this boundary in view
Fragrance, odor absorbers, and ozone-style treatments do not replace finding water or contamination. A recurring smell after rain or HVAC use is a diagnostic clue, not a cue to add stronger deodorizer.
Match the process to the real use case
You want to find and remove an odor source instead of adding fragrance. Trace moisture and contamination first, then clean the affected material and dry the cabin.
Sources and verification
Last verified: August 3, 2026. These sources frame the decision points for remove car odors; vehicle-specific instructions and product labels take precedence where they apply.