Direct answer: Create clean, wet, dirty, and drying zones that can be reset after every wash.
Assess the job before touching the vehicle
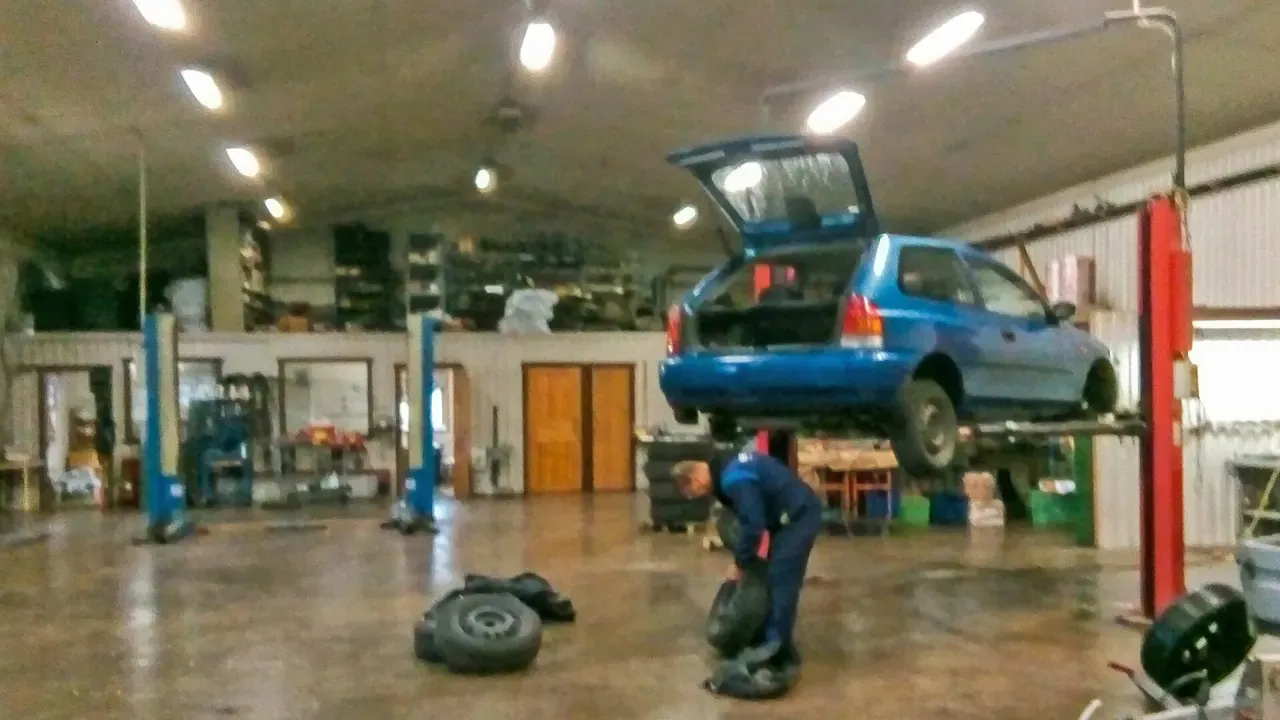
- Map the water source, drainage, electrical outlets, shade, vehicle path, and walking clearances.
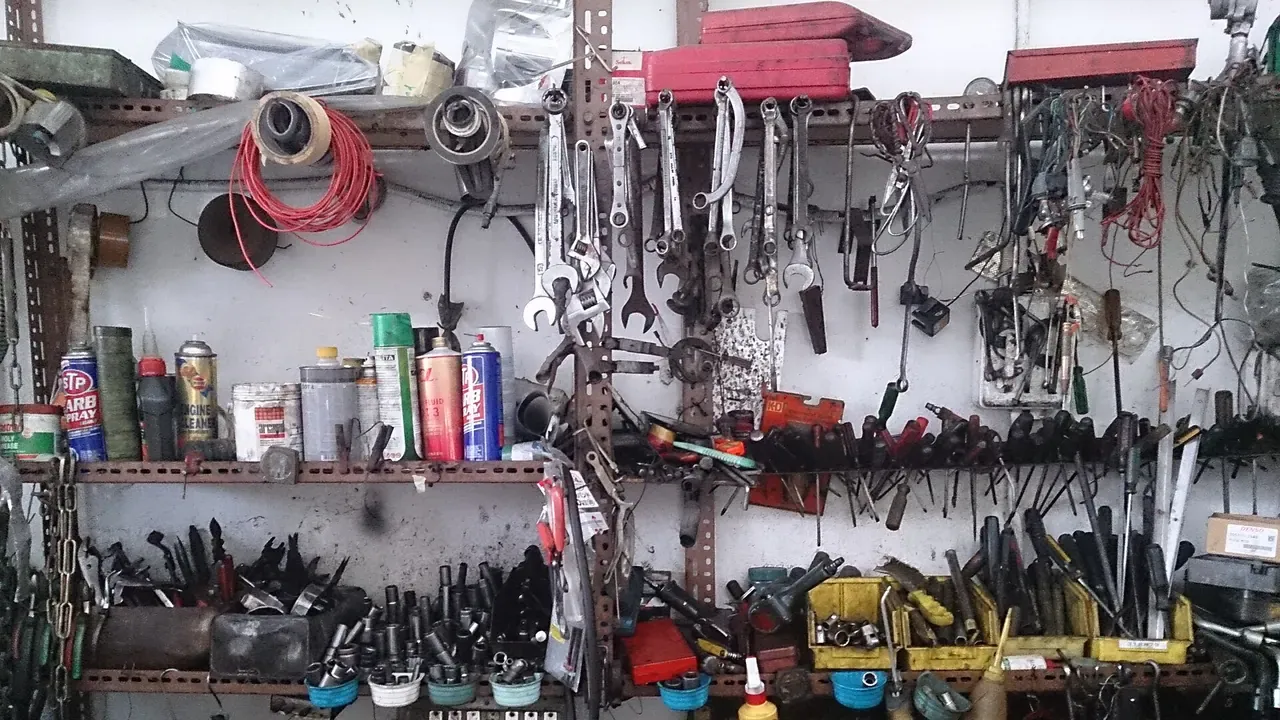
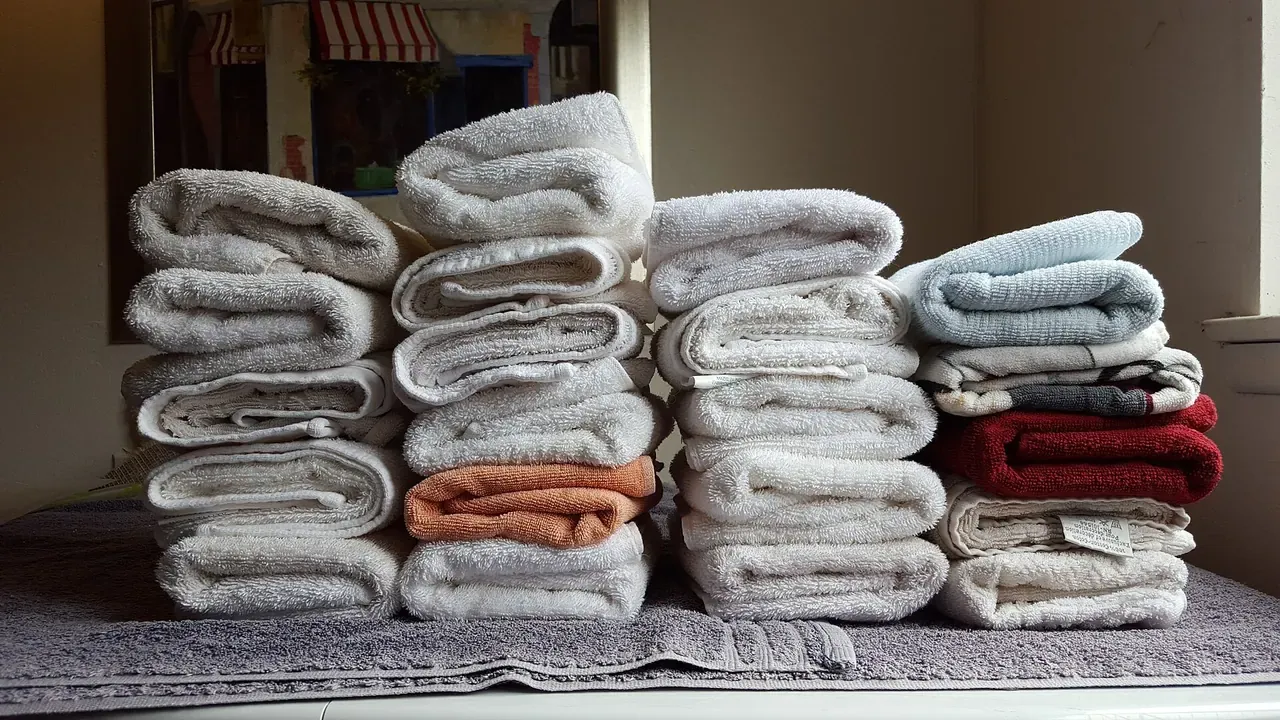
- Place frequently used wash tools near the exit while keeping clean towels in closed storage.
Keep the active work controlled
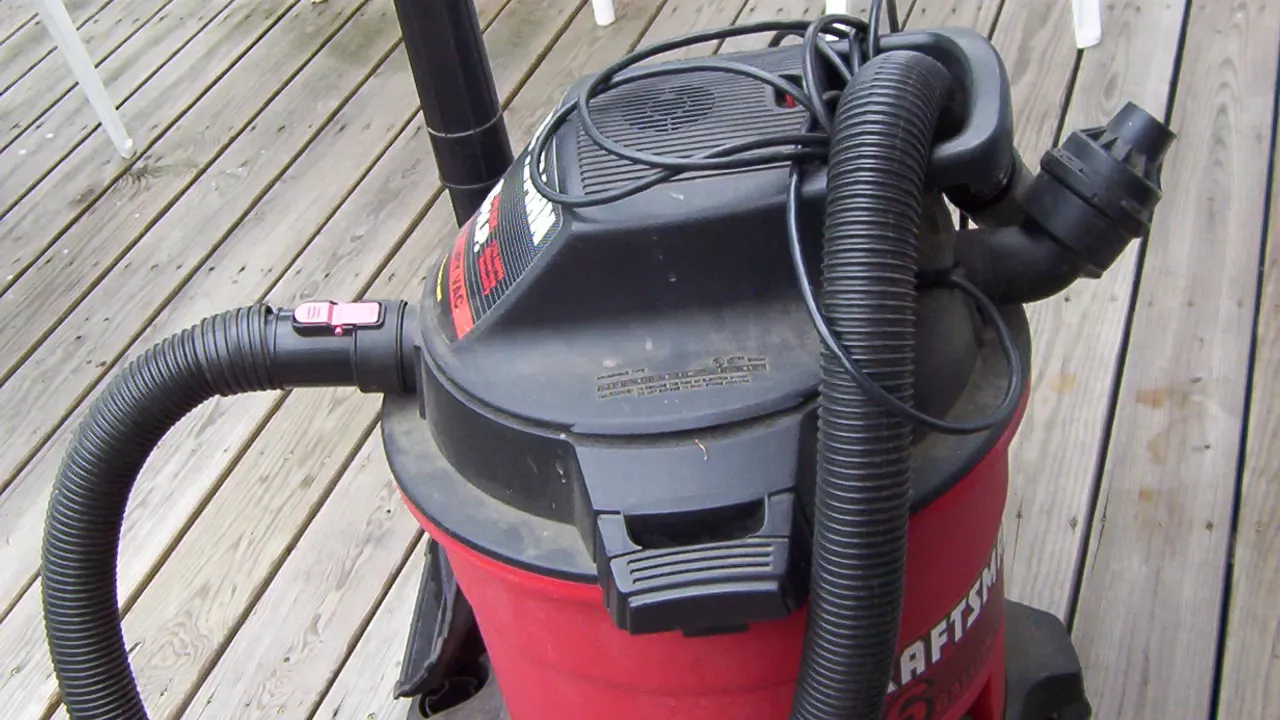
- Create a drip-dry location for hoses, brushes, buckets, and wash mitts.
- Separate wheel chemicals and tools from paint-contact supplies.
For home car wash setup, continue only while the vehicle, material, and work area support the method you selected. Do not add pressure, moisture, or stronger chemistry to compensate for an unsuitable condition.
Finish with an inspection
- Label a reset checklist so wet items dry and depleted supplies are noticed.
For home car wash setup, the useful result is a clean, documented, and usable surface. If the remaining issue is damage, a warning light, a leak, or a material failure, changing the cleaning method will not solve it.
Keep this boundary in view
Drainage and reset time matter as much as proximity to the hose. A station that leaves wet tools, mixed towels, or chemicals in a walking path will make the next wash slower and less controlled.
Match the process to the real use case
The reader loses time moving hoses, chemicals, towels, and wet tools around the garage. Create clean, wet, dirty, and drying zones that can be reset after every wash.
Sources and verification
Last verified: August 3, 2026. These sources frame the decision points for home car wash setup; vehicle-specific instructions and product labels take precedence where they apply.